Helix Tutorial: Helix UI Setup
Helix now provides a modern web user interface for users to manage Helix clusters in a more convenient way (aka Helix UI). Currently the following features are supported via Helix UI:
- View all Helix clusters exposed by Helix REST service
- View detailed cluster information
- View resources / instances in a Helix cluster
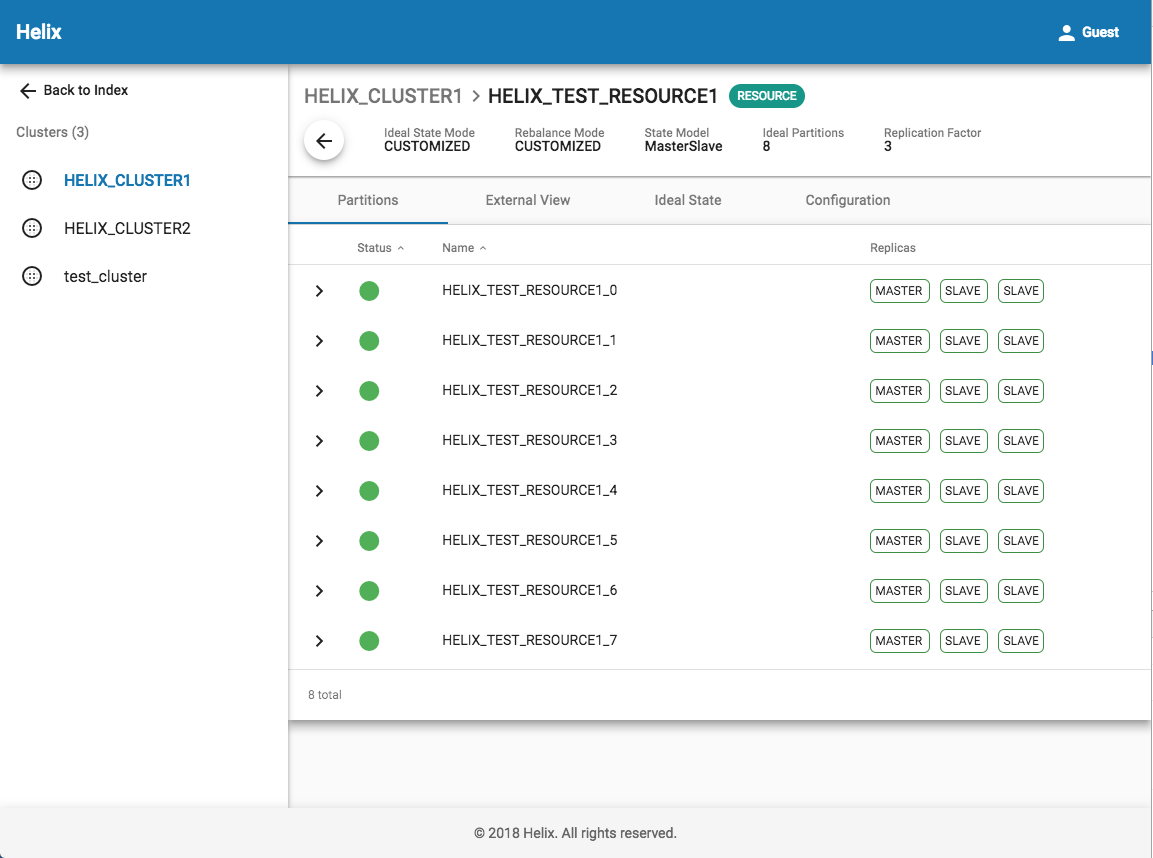
- View partition placement and health status in a resource
- Create new Helix clusters
- Enable / Disable a cluster / resource / instance
- Add an instance into a Helix cluster
Prerequisites
Since Helix UI is talking with Helix REST service to manage Helix clusters, a well deployed Helix REST service is required and necessary. Please refer to this tutorial to setup a functional Helix REST service: Helix REST Service 2.0.
Installation
To get and run Helix UI locally, simply use the following command lines:
git clone https://git-wip-us.apache.org/repos/asf/helix.git
cd helix/helix-front
git checkout tags/helix-1.4.0
../build
cd target/helix-front-pkg/bin
chmod +x *.sh
Configuration
Helix UI does not need any configuration if you have started Helix REST service without specifying a port ( Helix REST service will be serving through http://localhost:8100/admin/v2 ). If you have specified a customized port or you need to wire in additional REST services, please navigate to ../dist/server/config.js and edit the following section accordingly:
...
exports.HELIX_ENDPOINTS = {
  <service nickname>: [
    {
      <nickname of REST endpoint>: '<REST endpoint url>'
    }
  ]
};
...
For example, if you have multiple Helix REST services deployed (all listening on port 12345), and you want to divide them into two services, and each service will contain two groups (e.g. staging and production), and each group will contain two fabrics as well, you may configure the above section like this:
...
exports.HELIX_ENDPOINTS = {
  service1: [
    {
        staging1: 'http://staging1.service1.com:12345/admin/v2',
        staging2: 'http://staging2.service1.com:12345/admin/v2'
    },
    {
        production1: 'http://production1.service1.com:12345/admin/v2',
        production2: 'http://production2.service1.com:12345/admin/v2'
    }
  ],
  service2: [
    {
        staging1: 'http://staging1.service2.com:12345/admin/v2',
        staging2: 'http://staging2.service2.com:12345/admin/v2'
    },
    {
        production1: 'http://production1.service2.com:12345/admin/v2',
        production2: 'http://production2.service2.com:12345/admin/v2'
    }
  ]
};
...
Launch Helix UI
./start-helix-ui.sh
Helix UI will be listening on your port 3000 by default. Just use any browser to navigate to http://localhost:3000 to get started.
Introduction
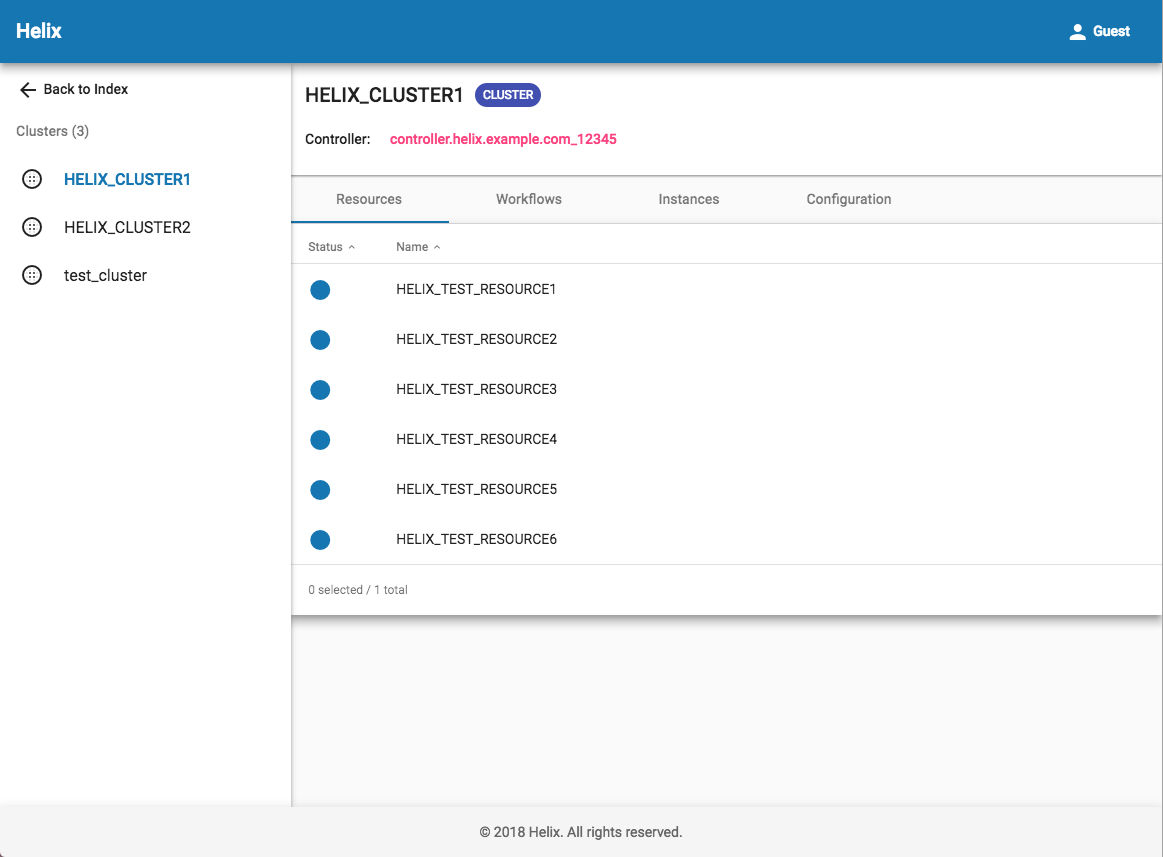
The primary UI will look like this:

The left side is the cluster list, and the right side is the detailed cluster view if you click one on the left. You will find resource list, workflow list and instance list of the cluster as well as the cluster configurations.
When navigating into a single resource, Helix UI will show the partition placement with comparison of idealStates and externalViews like this:


